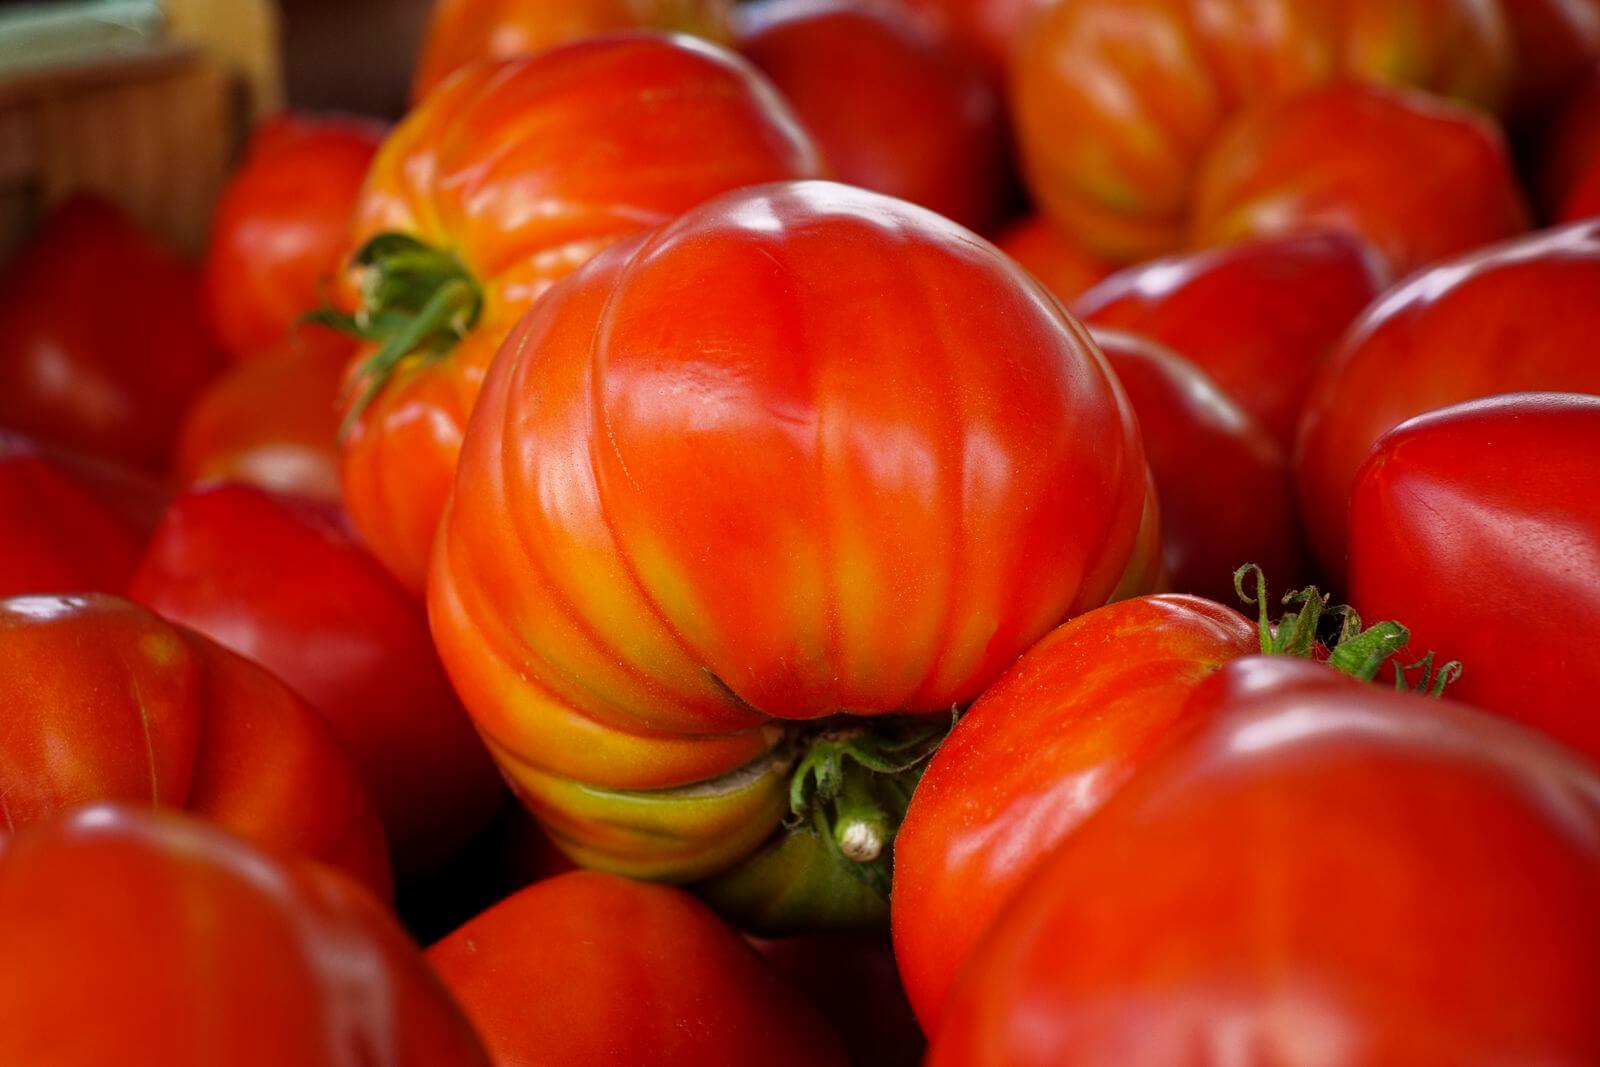
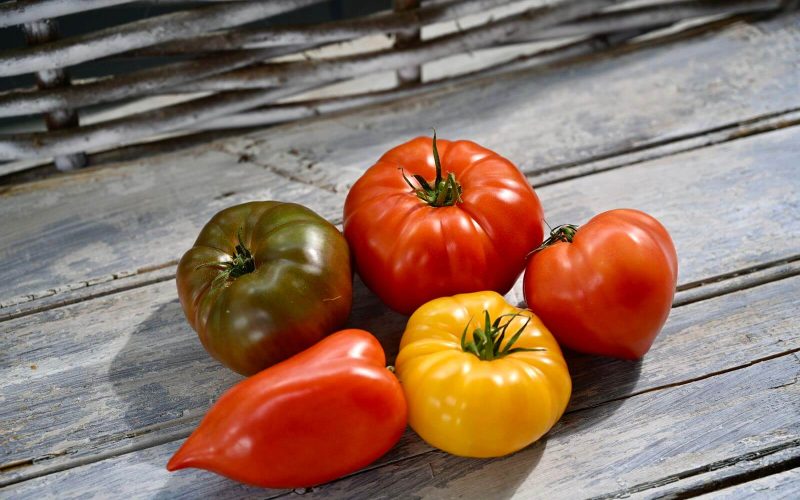
Everyone knows, Marmande is the world and universal capital of tomatoes! It is part of the regional heritage, know-how jealously passed down from generation to generation. But, did you know that Marmande tomatoes are three tasty varieties that differ in shape. They are ideal for cooking up a nice little dish of stuffed tomatoes. And since you have decided to bring back some good seeds from home and try your hand at growing them, here are the steps to follow to obtain magnificent plants generously loaded with tomatoes !
But before we begin, a little history…
The tomato is a fruit native to South America. The Spanish Conquistadors brought it back to Europe about 500 years ago. The Aztecs called it “Tomatl”. But among us, we gave it the scientific name of lycopersicon, which literally means “the Wolf’s catch”.
Funny name you might say? But the fact is that the tomato had a rather bad press in its early days on the Old Continent. It belongs to the nightshade family, as do potatoes, peppers, paprika, eggplants and chili peppers which are edible. But other nightshades are poisonous like belladonna, datura, mandrake and tobacco.
This is why, for fear of being poisoned, we did not eat tomatoes in France or Italy during the Renaissance (it must be said that we had easy poison at that time). The tomato then simply served as an ornamental plant; it was also called the Golden Apple or the Apple of Love. We finally realized later that this fruit could be eaten in all sauces! And in the XNUMXth century, the name “tomato” finally entered the dictionary of the French Academy.
Today the tomato is present all over the world. There are several thousand species of tomatoes and the leading producer of tomatoes is the People's Republic of China (but you can imagine that the best are here).
And now let's get started! By the way, you don't need to have a green thumb to grow tomatoes. Its seeds grow everywhere, even after digestion in wastewater treatment plant residues. So keep your hopes up and everything will be fine!

Step 1
First you need seeds. Of course, you can buy these seeds commercially. But frankly the most fun is still getting them directly from the tomato. After cleaning and drying them well, you can plant them the following year.

Step 2
Around February, inside your house (because it is winter and it is cold), place your tomato seeds in slightly damp cotton and place everything in an opaque box, near from a heat source. The seeds will take about 10 days before opening, allowing a small green stem to develop with two tiny leaves and a long white root.
Step 3
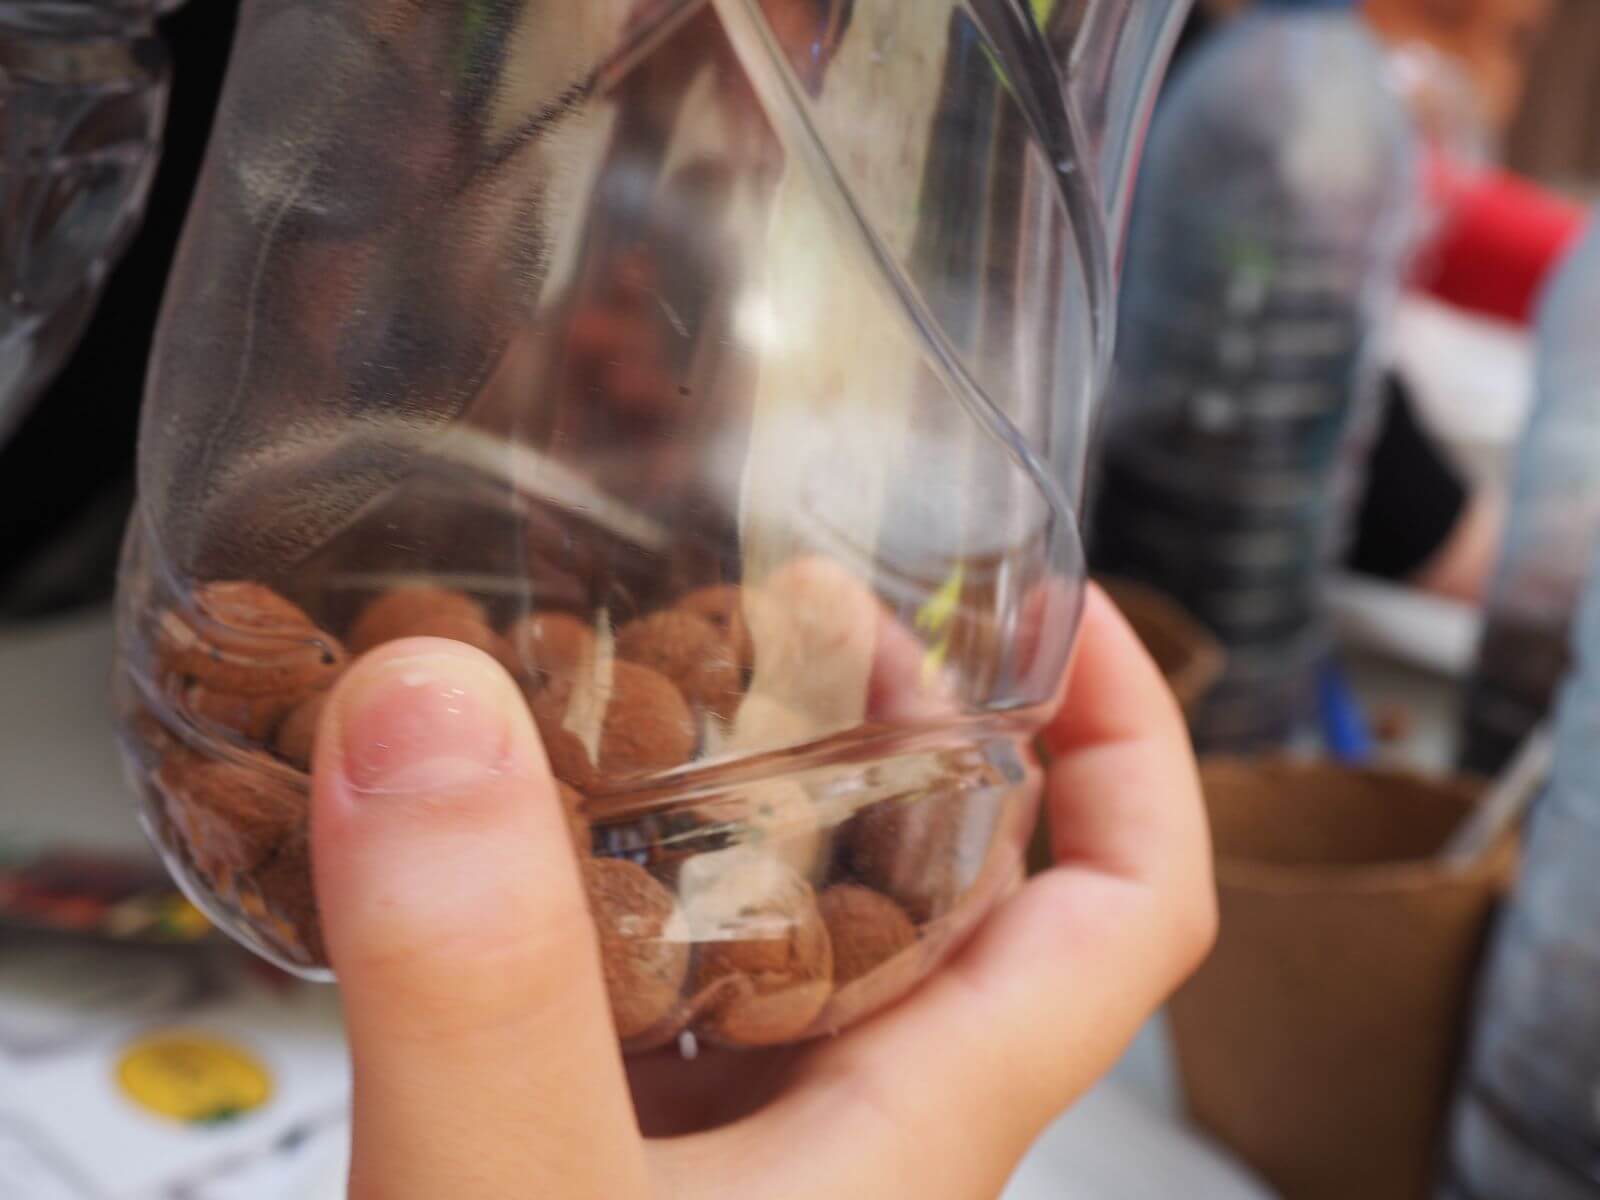
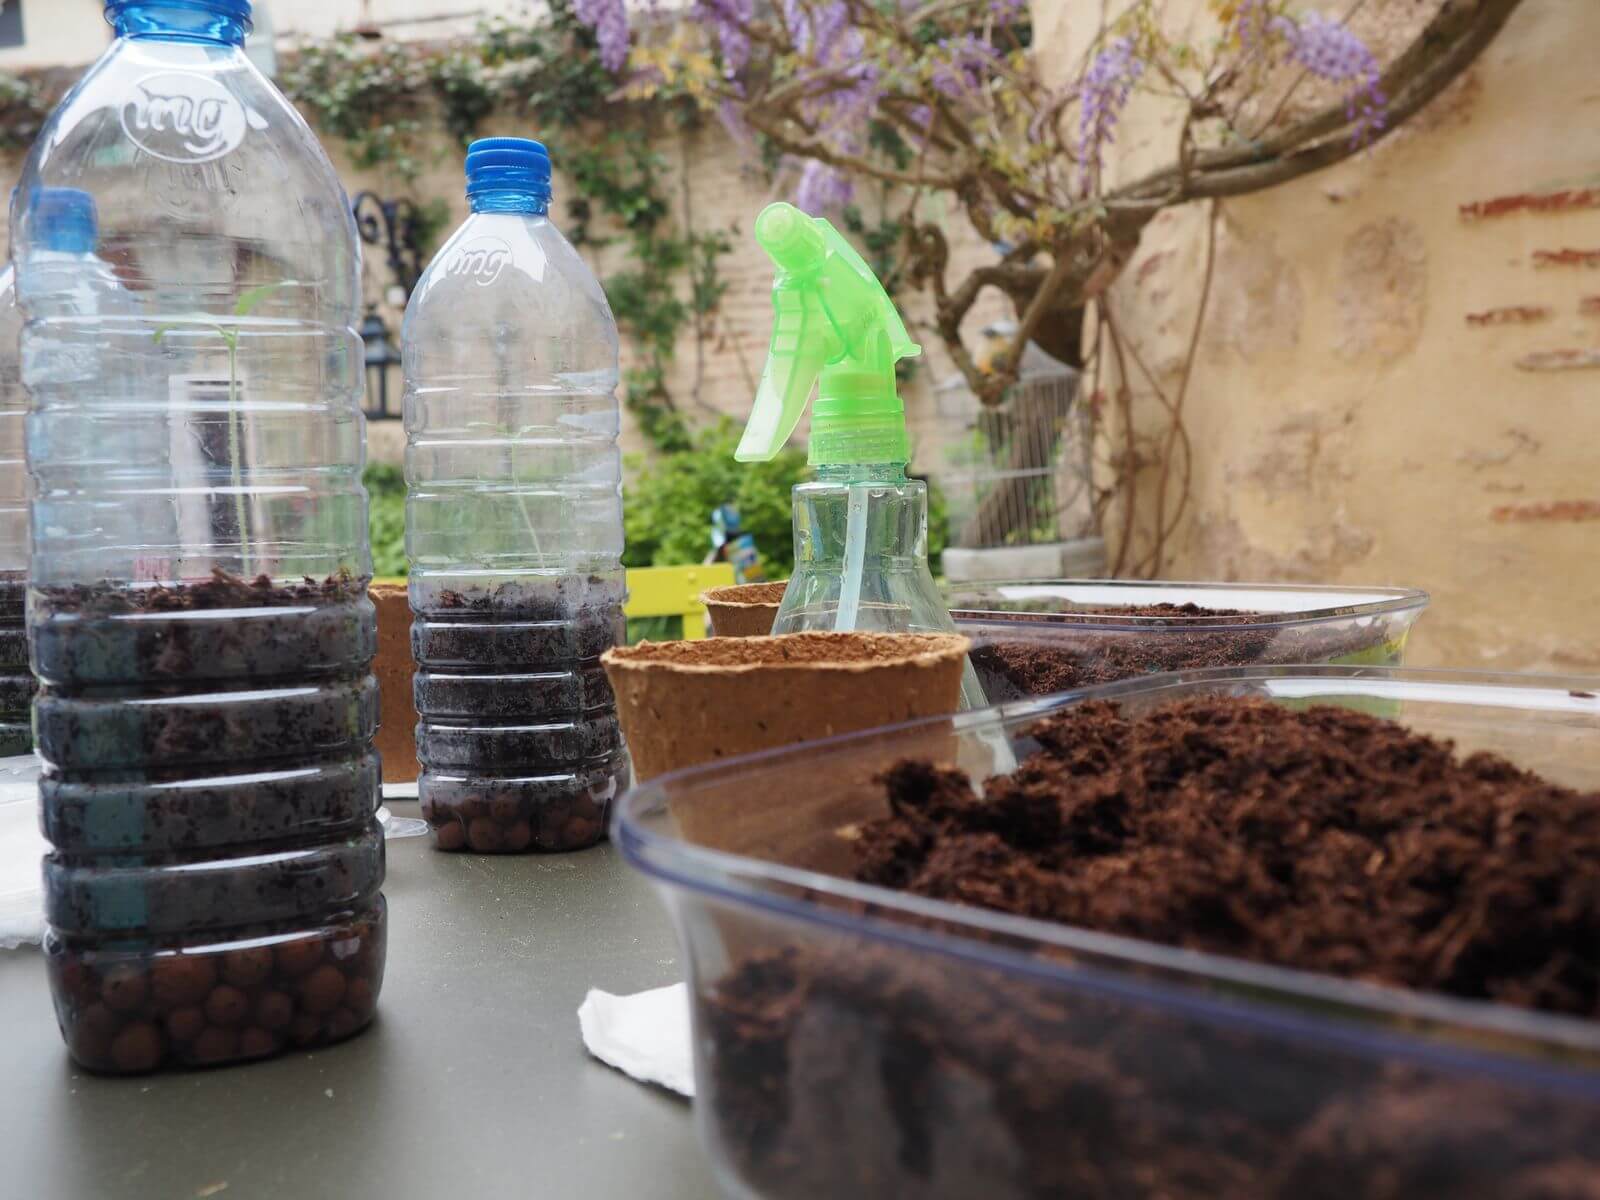
While waiting for all these little people to germinate quietly, prepare plastic bottles which will serve as mini greenhouses. Cut the bottle almost entirely in half halfway up, keeping a little plastic to keep the two parts together. Fill the bottom with the equivalent of a finger's thickness of clay balls and cover them with water to the same height. Add potting soil, up to the level of the cut part of the bottle.
Step 4
After a few days, your sprouted seeds can be harvested. With a pencil, make three small deep holes in the soil in the bottles, leaving space between each hole. Very carefully remove the seedlings (this is the name of the germinated seed) from the cotton, then slide the white root into the hole up to the green part. Close the holes gently around the stem, close your bottle with adhesive tape and place it near a window and a heat source.

Step 5
And now, twiddle your thumbs for at least 2 months! By capillarity, the soaked clay balls will provide enough water for the plants to develop. The bottle will act as a greenhouse and retain enough heat for rapid development. Humidity and heat, that’s the secret! Optionally add a little water if you see that the soil is dry.
Step 6
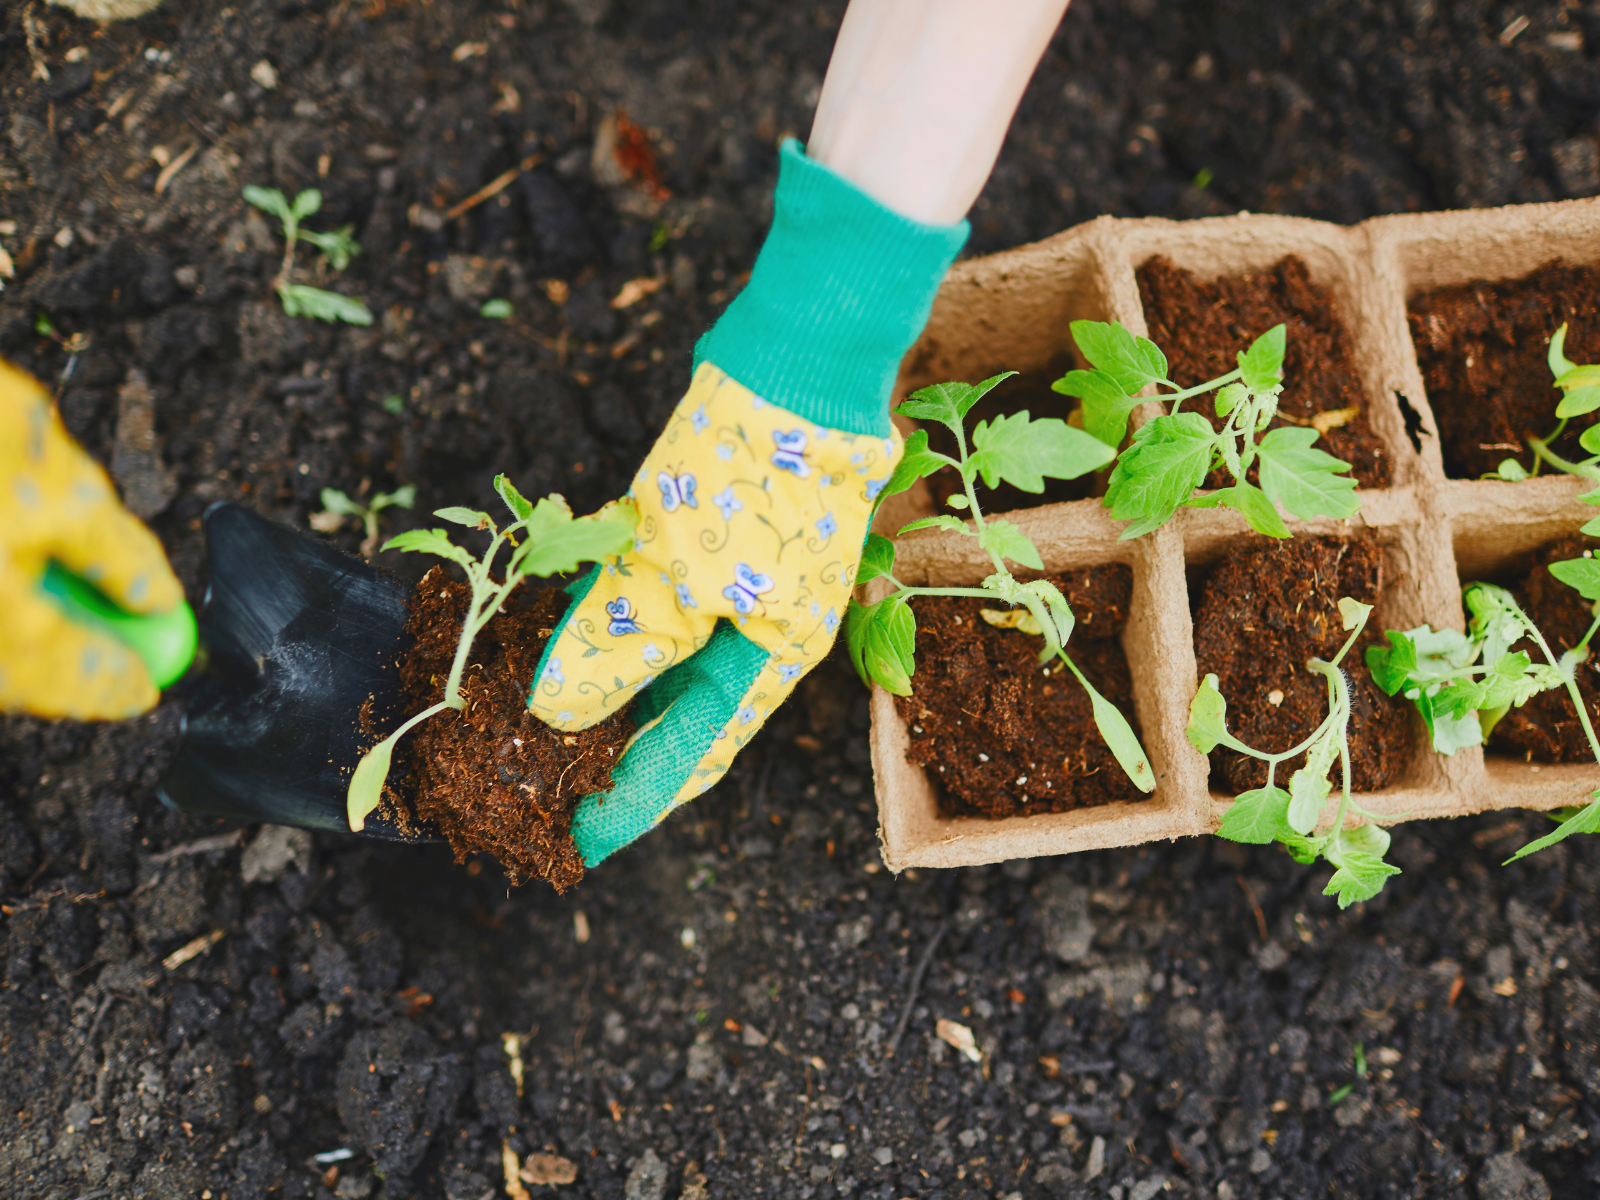
Your plants should soon feel cramped in their bottle. It's time to transplant them. Choose from the three plants in the bottle the one that is the most developed (or all three if you have enough space at home). Carefully remove the plant with its clod of soil and place it in a larger pot. Wait until the last frosts have passed before taking it out on your balcony or planting it directly in your vegetable garden.
Step 7
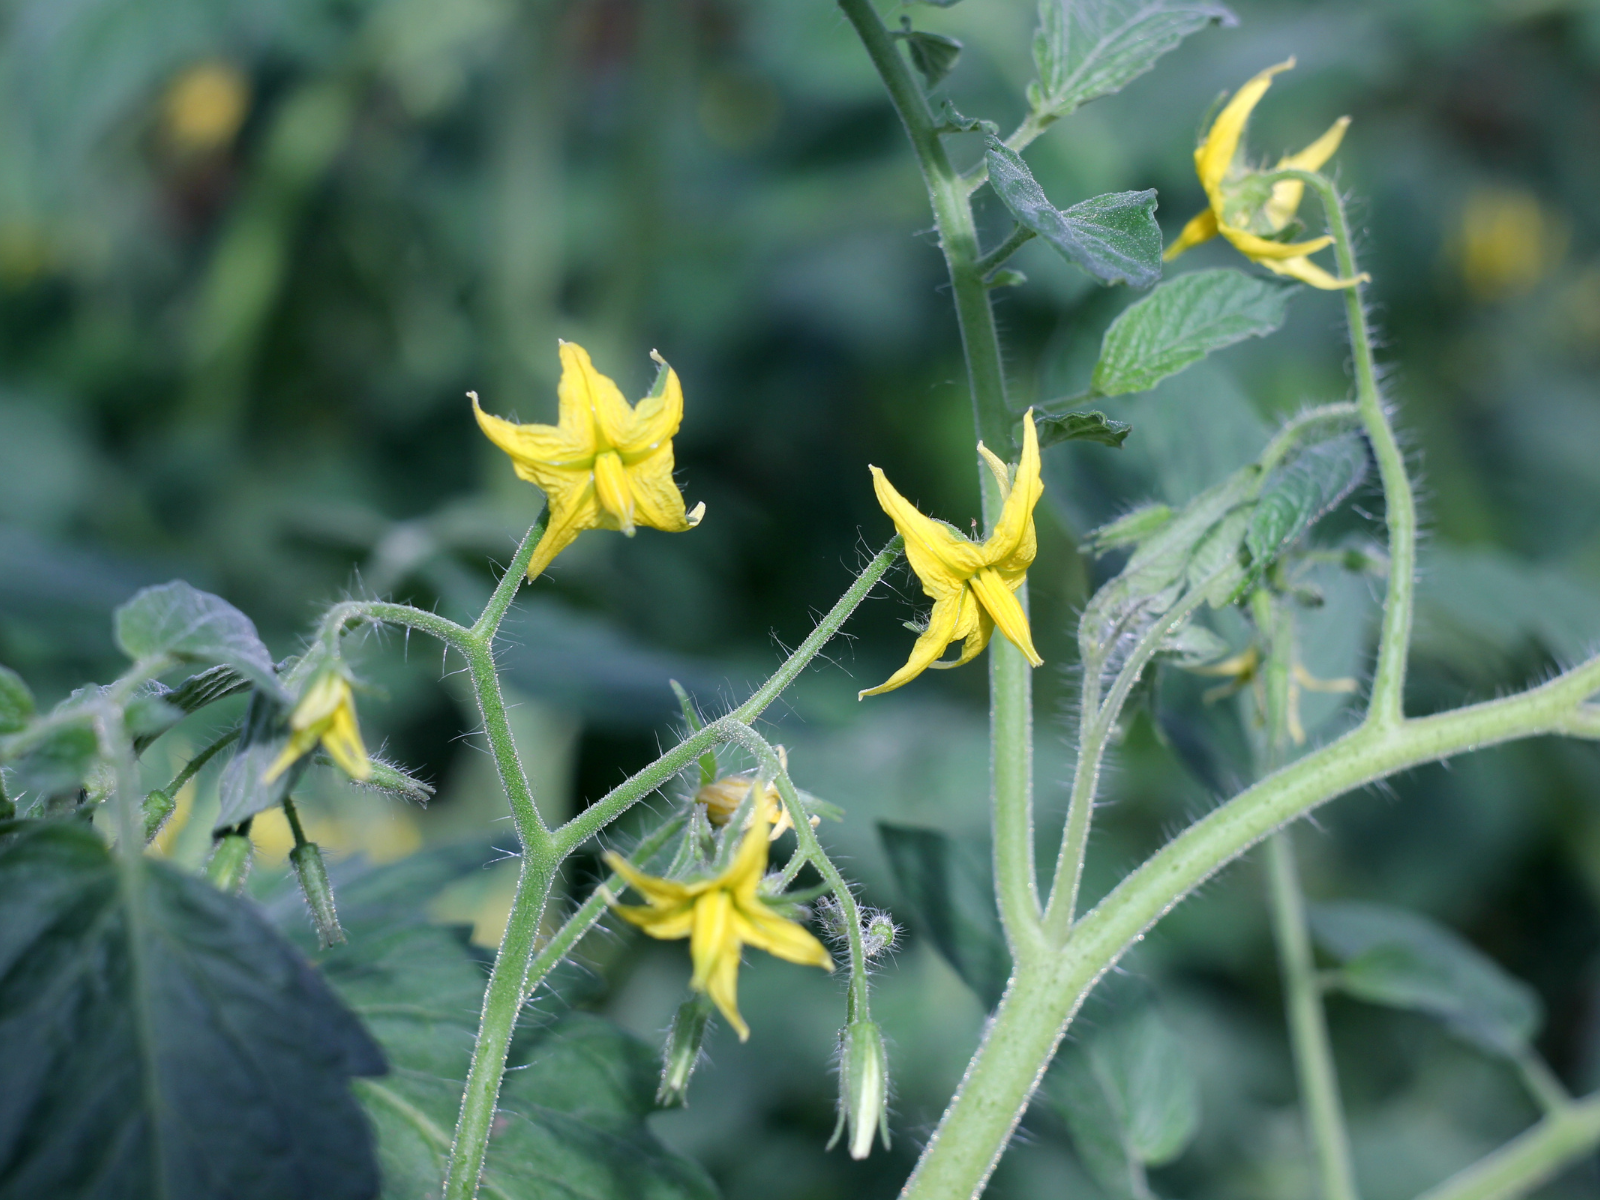
From June onwards, things are simple: a little water and a lot of sun. Around July, the first flowers will appear. The more flowers there are, the more tomatoes you will have. If your plants are thirsty, only water the base of the stem, never the leaves to avoid disease. Soon green fruits will replace the flowers. Let everyone ripen until you obtain beautiful red tomatoes.
Step 8
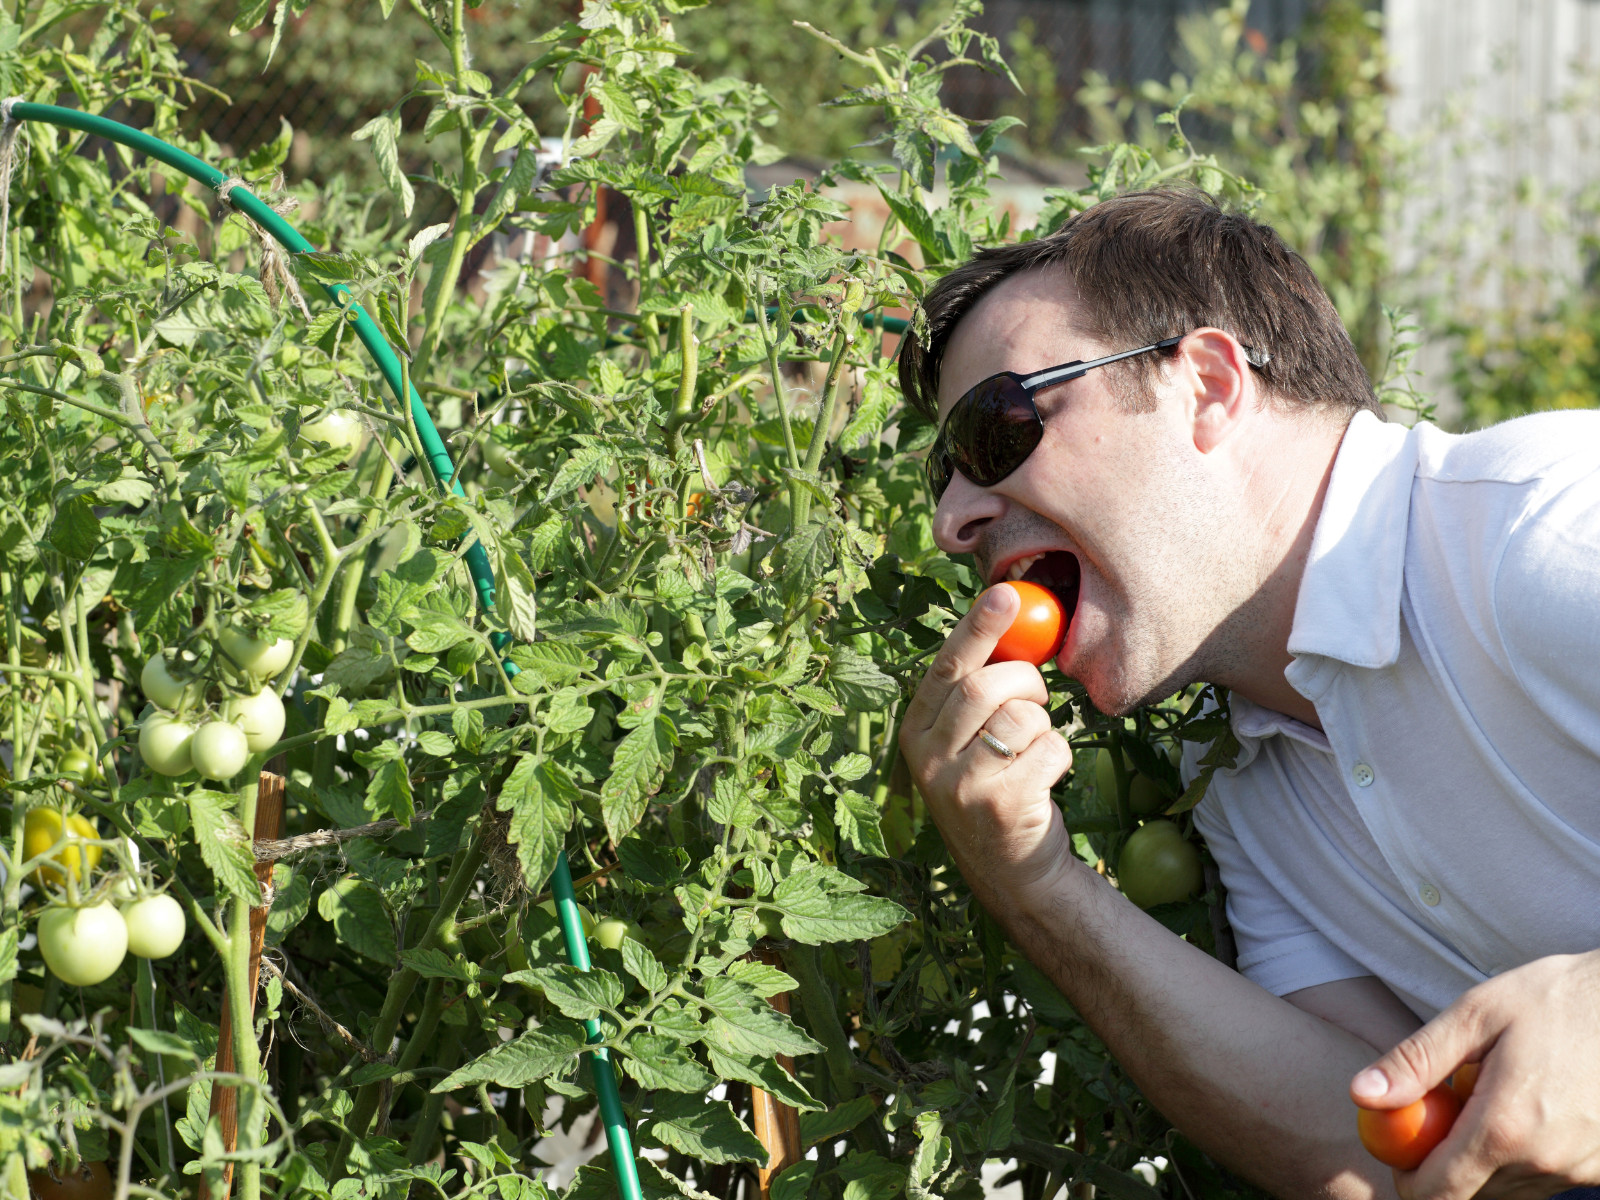
Treat yourself !
For Marmande tomato lovers, we continue…
Themes